| |
|
|
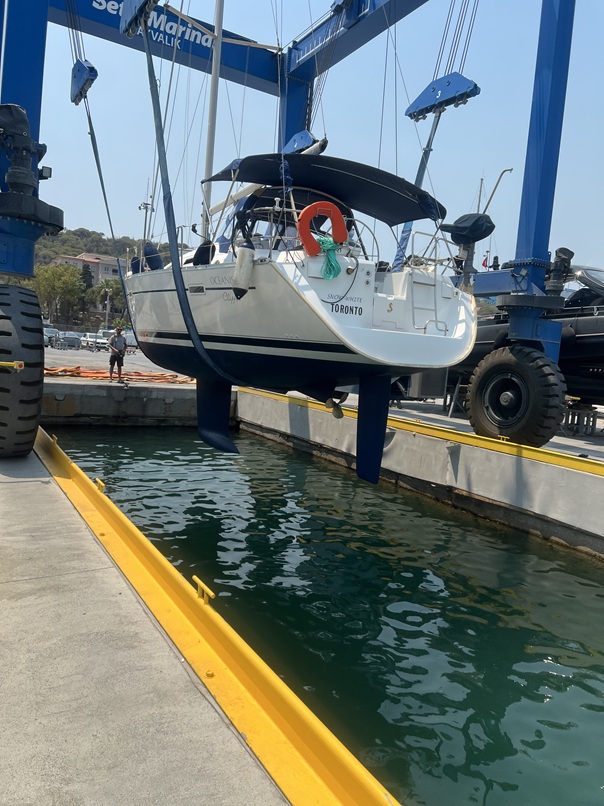
June 2025: Arriving on Site |
|
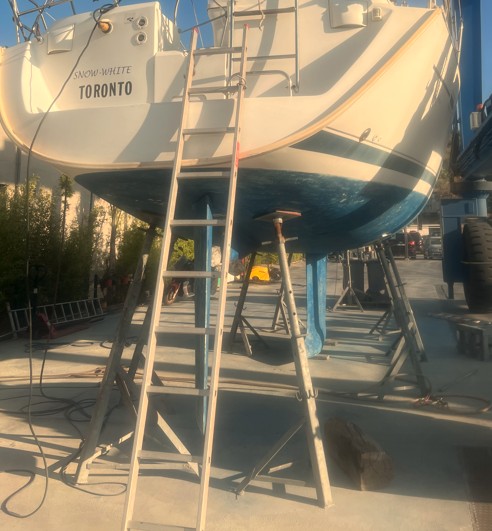
It was a sunny Friday in June, June 20th, a very hot day over 35 C degrees, I arrived in Ayvalik Setur Marina to see my sailboat, Snow White after about 7 years. This was my first walk in onto the boat after many years due to Covid, work, family issues. It was in good shape, no apparent damage of broken pieces. However, I wrote down a few things right away: Boat is covered with dust need a good wash, all lines/halyards and batteries were dead, needed replacements, fuel tank needed to be empties and cleaned up, motor, a Volvo D255 needed major maintenance (if it ever worked). All electrical systems were working except a few lights, the heads needed replacement because they were so dry, navigation systems worked, VHF radio worked but not the regular radio. There were no faul smell anywhere including fresh water tank.
The very first thing I did was to order 2 house batteries and a starter battery. Total cost $1150. Then I washed the top and did a routine cleaning inside to get rid of years of accumulated dust and dirt. I took all the cushion covers, linens, clothes etc. home to do a marathon laundry. Then I removed the fuel gauge and took a peek inside the fuel tank. Not much except for diesel showing half way full. Acting on the advise, I emptied the tank and took a second look inside. then I noticed yellowish looking slime at the bottom. The technicians on site told me to remove the tank and clean it with either gasoline or thinner to kill all the bacterial build up.

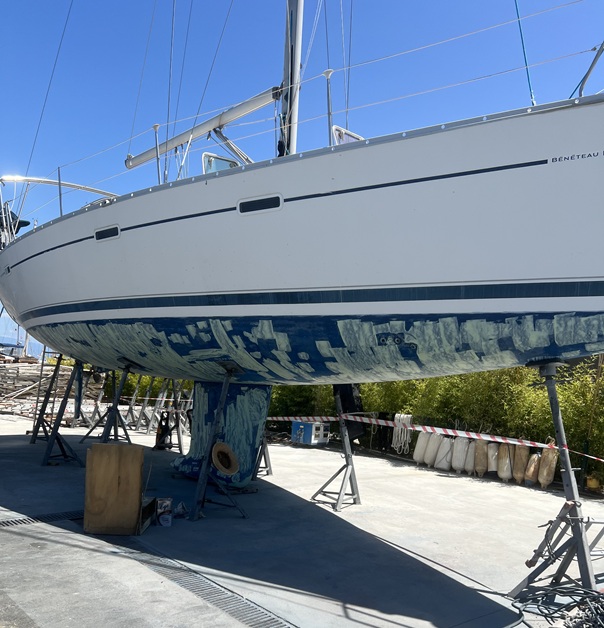
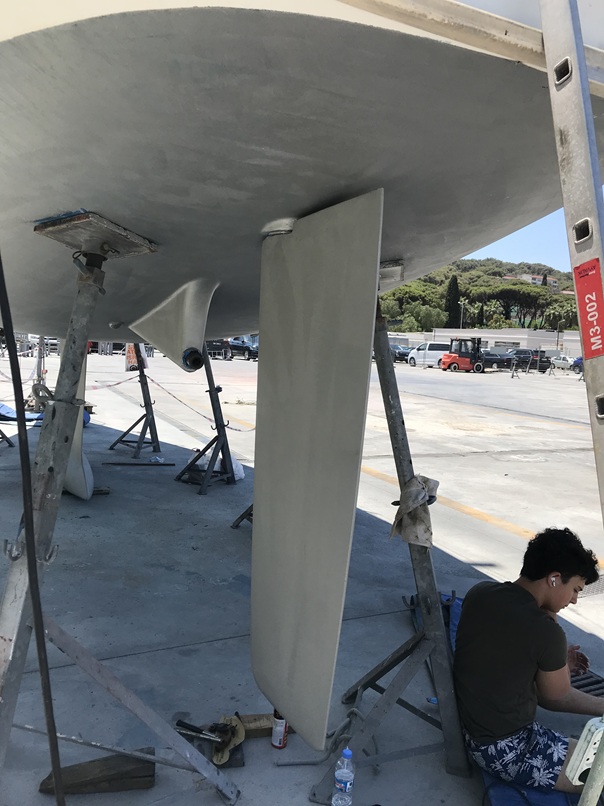
I ordered a paint job complete with sanding, plastering, and three coats of poison. We made a package deal, the top portion of the boat was also polished head to toe. In addition, the top flat window was resealed just in case.
|
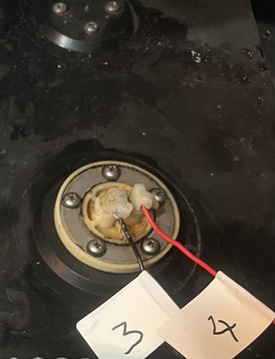
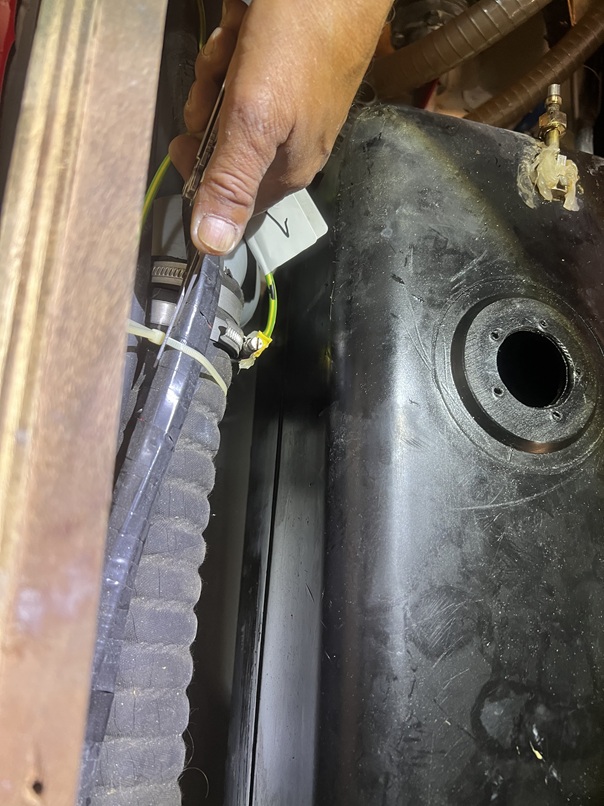
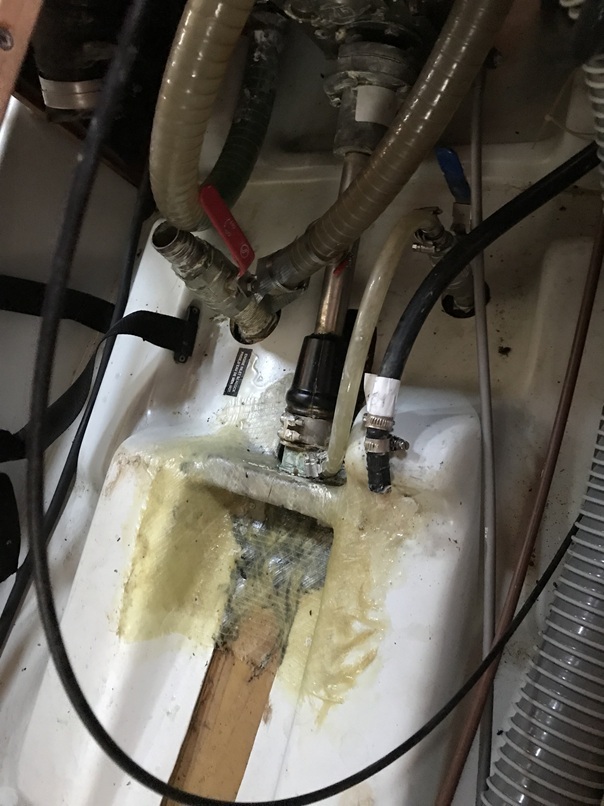
Be careful for those screws. The seals (round, black) underneath them was broken and started leaking when I had the tank filled up. It did not down on me until I unscrew them to check.
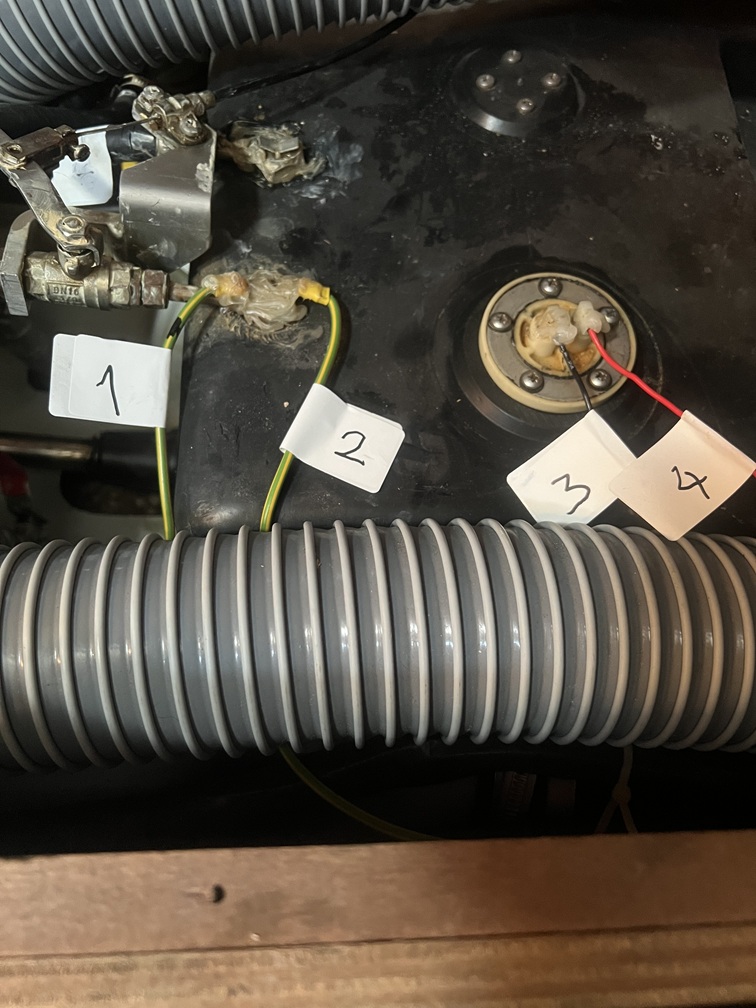
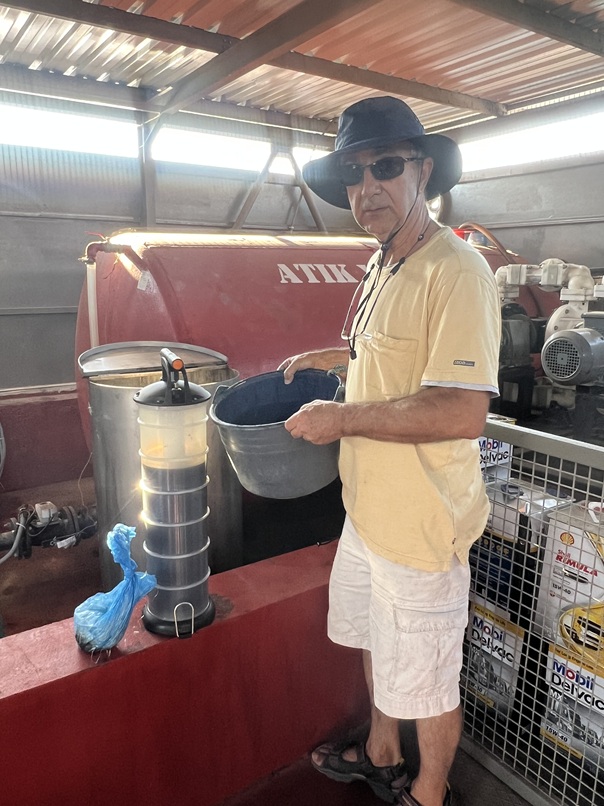
As an engineering practice, I started marking everything I dismantled and took picture how they looked before disassemble anything. I regret those time when I did not apply this rule. Anyway, I proceed to empty the fuel tank and pumped them into multiple plastic containers, later sold them at half price to a farmer with tractors. Once I saw the amount of sludge at the bottom, I decided that tank had to be thoroghly cleaned. That means removal. Next step was to take out all house batteries, remove side panels and remove the two hoses in the back. Removing the hoses was very difficult, so the marine shop technician was called in, he also helped to remove top bar. We flipped boat side ways, unhook the metal rod (which held the metal rod in the bottom), voila! the tank came loose, we took it out and placed it on the the ground. Due to danger, I did not use gasoline nor thinner but used chlorium based cleaner to kill the bacteria. All discharge went to the recycle deparment. Finally, I pressure washed the inside tank several times until I was happy to see a very clean tank. We decided to leave the tank out until it was bone dry and there was no smell.
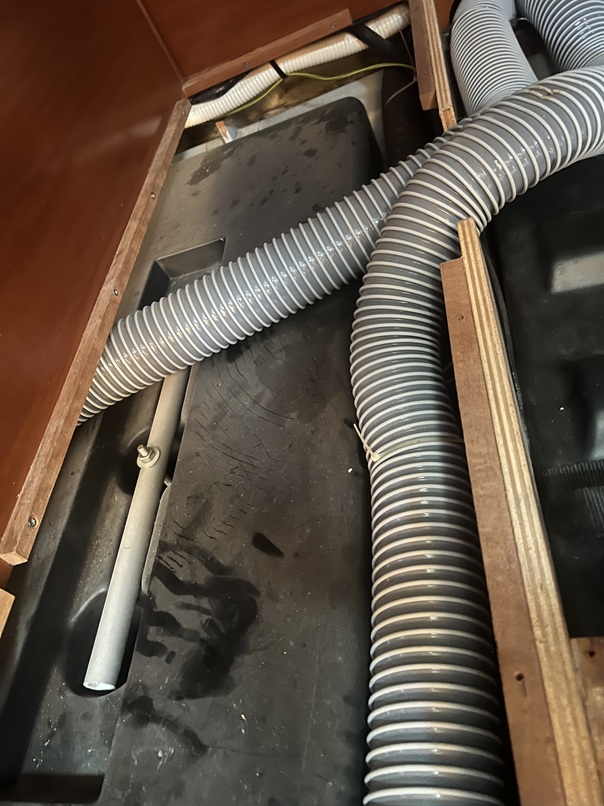
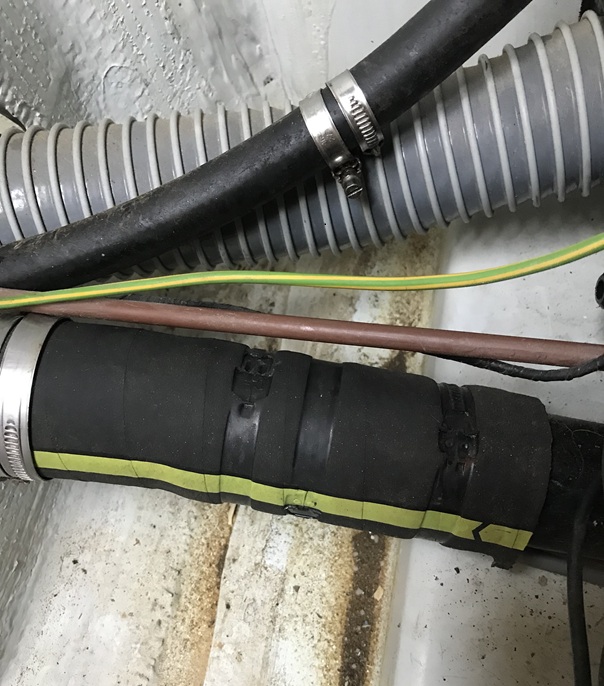
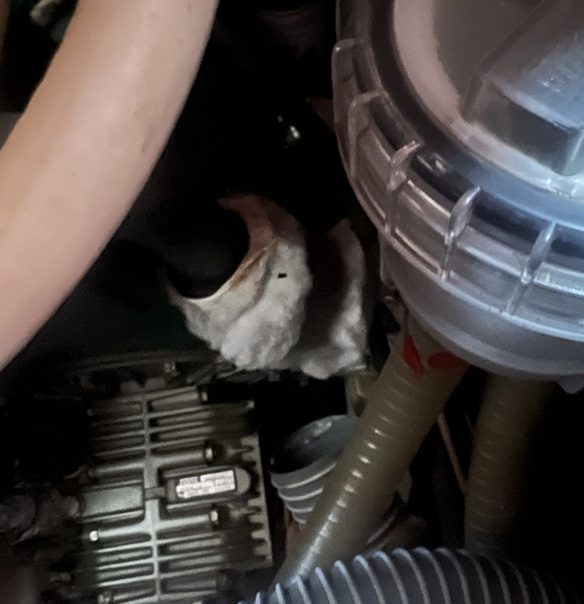
This picture above is taken just before the removing air hoses and side panels. Below showed the condition of the fuel hose entering the tank. The smaller air hose was easy to remove, but this one was difficult until the technican was able to rotate it around. Picture shown below displays the area of back with fuel hose being removed and space left after the removal of fuel tank.
|
|
July 2025: Heat is on - Removing the shaft |
|

|
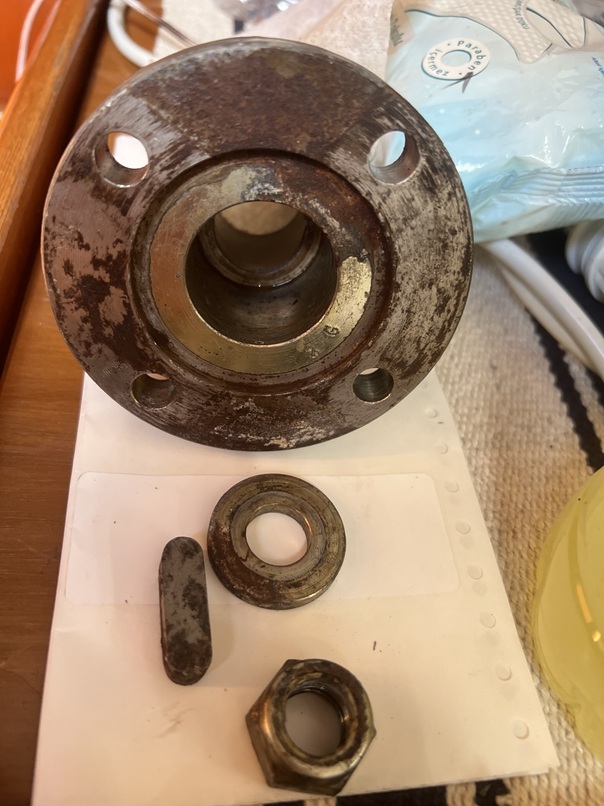
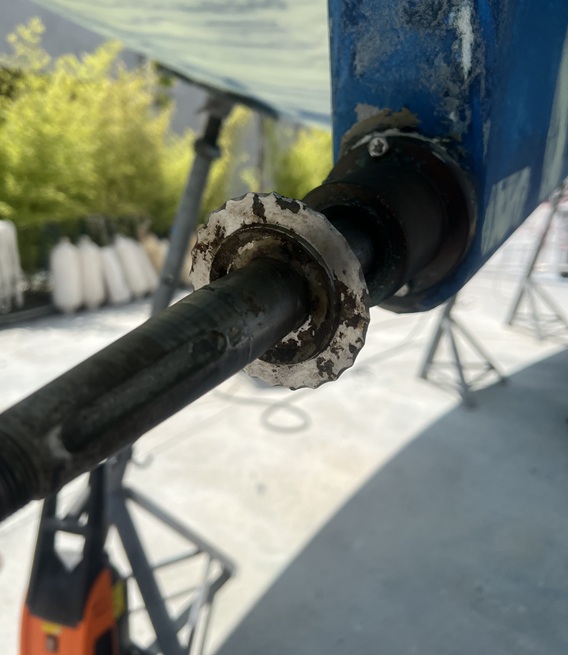
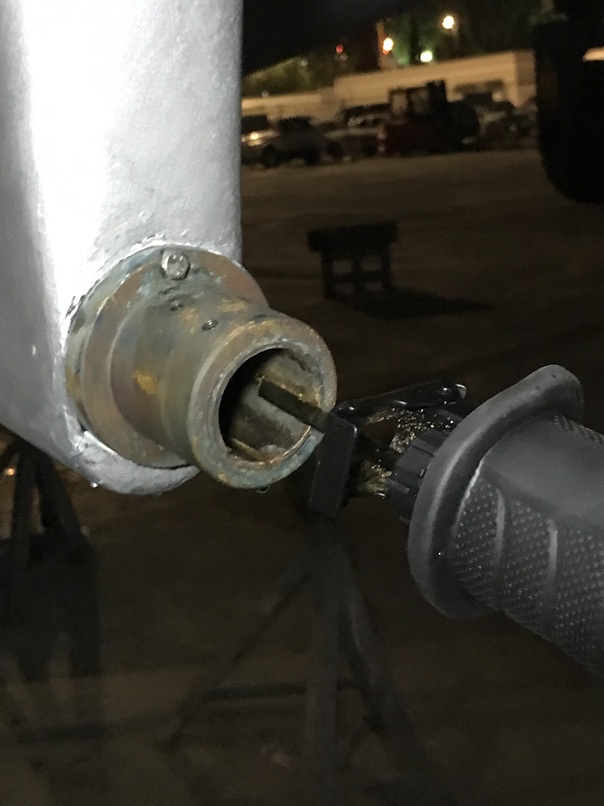
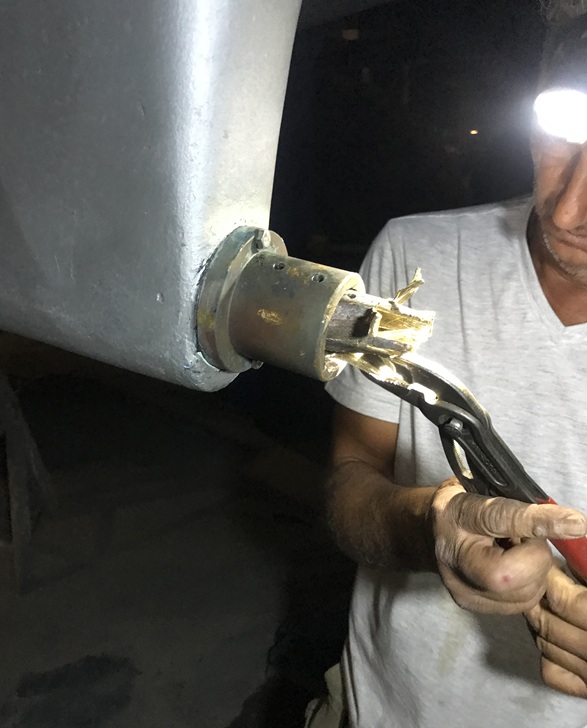
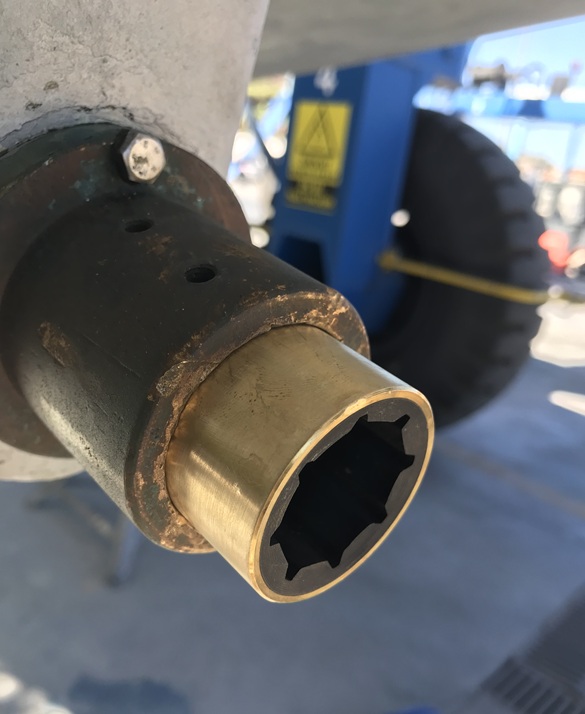
Dismantling the coupling and removal of shaft was very challenging. We needed special tools to pull the coupling piece from the shaft. First we unsrewed the bolts from engine side, marked them all to help with realignment later. Because the coupling was seized up, it was difficult to slide it out.
First we had to unscrew the bolt at the end of shaft. The manual says it is reverse screw, the technician sweared that it was regular screw. To this day, I still don't remember which way (I think it is reversed). Once the bolt was removed, we sprayed the inside with rust remover, then hammered it lightly then placed a special pulling device to remove the flange. It sounds simple but this whole process was about 2 hours of muscle work in thight spaces under a temperature of 35 C.
|
|
|
|
|
July 10, 2025: Engine Maintenance |
|
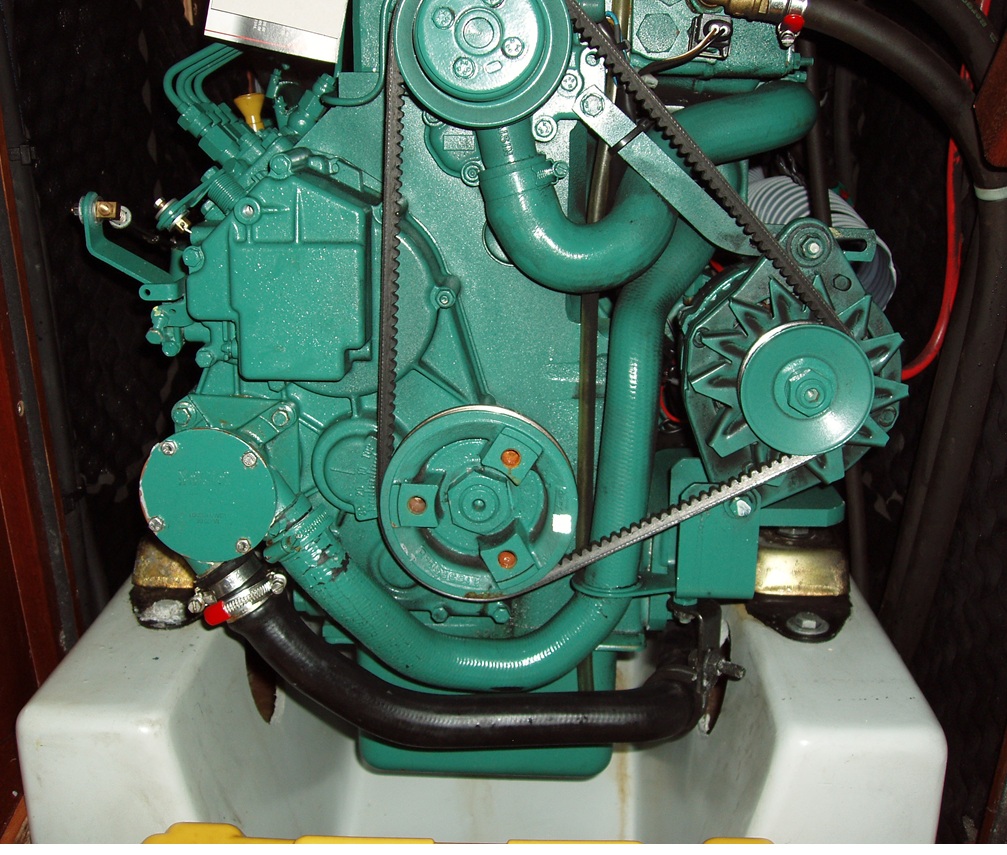
The engine is Volvo D255. After getting our boat on land, I ran fresh water, followed by antifreezer through the cooling lines, put in a new oil and left it like that for seven years.
I decided not to touch anything in the engine department until I get a licenced Volvo technician to look at it. When the technician reviewed the engine, he advised to change all the filters (water, oil, fuel), change the oil, clean the fuel tank (already in progress), get rid of the old diesel, check the water intake lines, changed the impeller and replace some of the fuel lines which were cracked. I have completed all that in about a week working during the evening times because the daytime was so warm. Meanwhile, the batteries came in and placed in place.
After a few failed schedules, finally the Volvo technician can aboard (he was the owner of the business). First, he had a special nut and wrench to turn the crank from the front to ensure the cylinders are not frozen in place. Once we accomplished that he checked all around and gave it a thumps up to crank the engine via the start key. We had the fresh water supply in a bucket and hose, checked the fuel line etc. Then I tried the starting key with all the praying I knew. After a several seconds starter cranking which I felt was a very very long time, I heard this beautiful roaming sound that the engine was working. I literally jumped up and down with joy. I happily paid 1200 Euros for the service. He advised to call him back for shaft alignment and fuel injection check.
The shaft alignment worked great with no vibration, and the sound of the engine was smooth, so I did not call him back. Big thumbs up for Volvo D255!
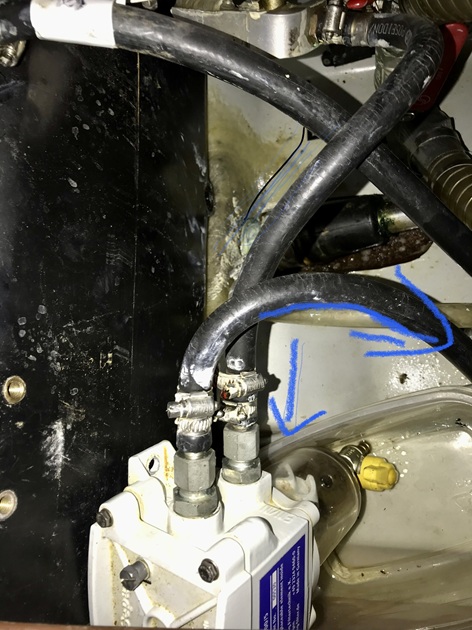
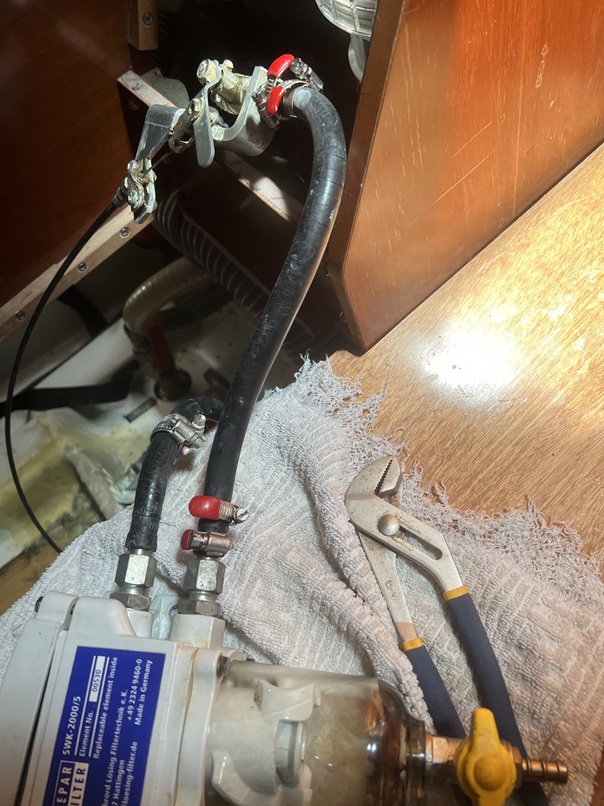
Below, water separator is unhooked, waste is dumped at the waste recycle station.
|
|
July 20, 2025: Now comes the difficult part |
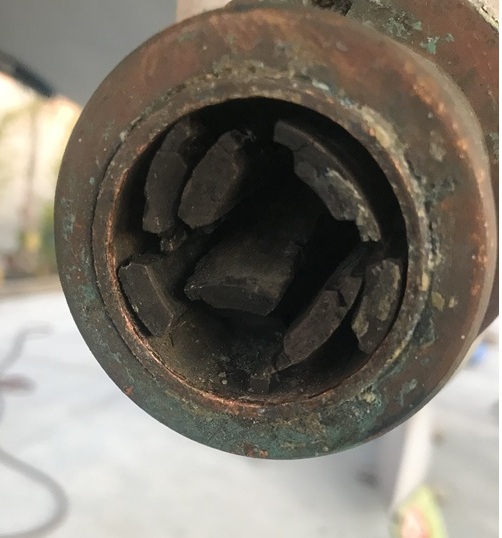
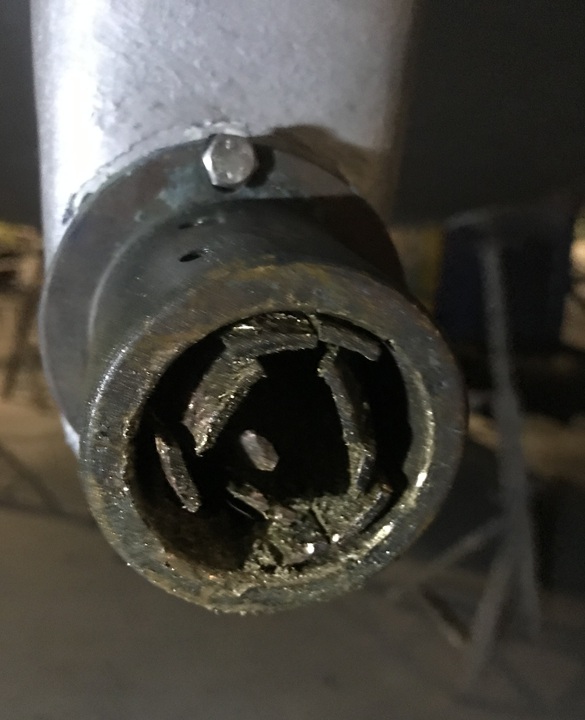
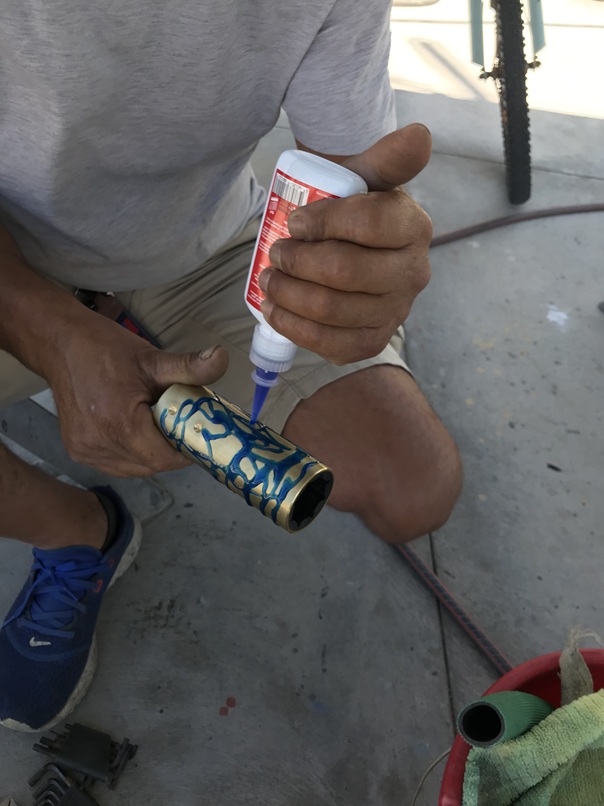
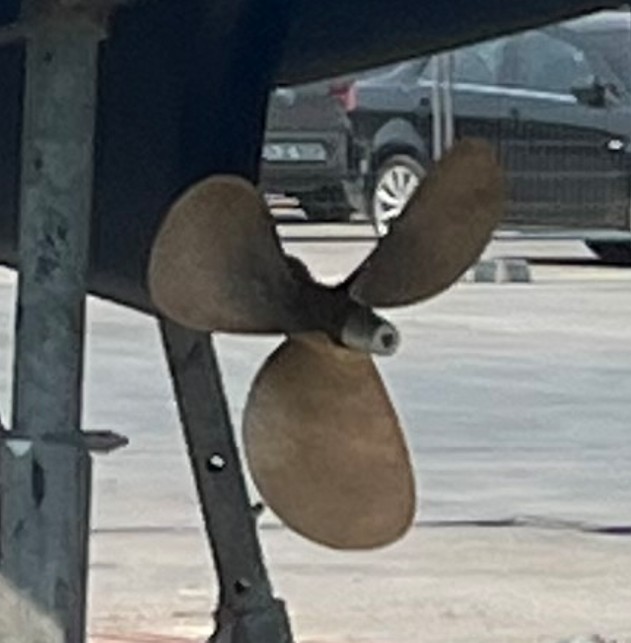
In the heat of July, our most challenging job was removing the shaft. First was the coupling and seal side in the boat then it was the cutlass bearing. I included various pictures here. I used a tail saw to cut the metal bearing from the end into slices, even then it was not possible so I called for help. The technician could not pull it because we could not reach inside to attach the puller. After trying about a couple of hours, we finally removed the cutlass bearing. After that it was pretty smooth, cleaned the shaft, propeller, the bearing's bed, etc. My son and I worked on each item lightly sanding and greasing and re-installed all pieces back together the next day.
|
Pictures below show the work in progress
|
|
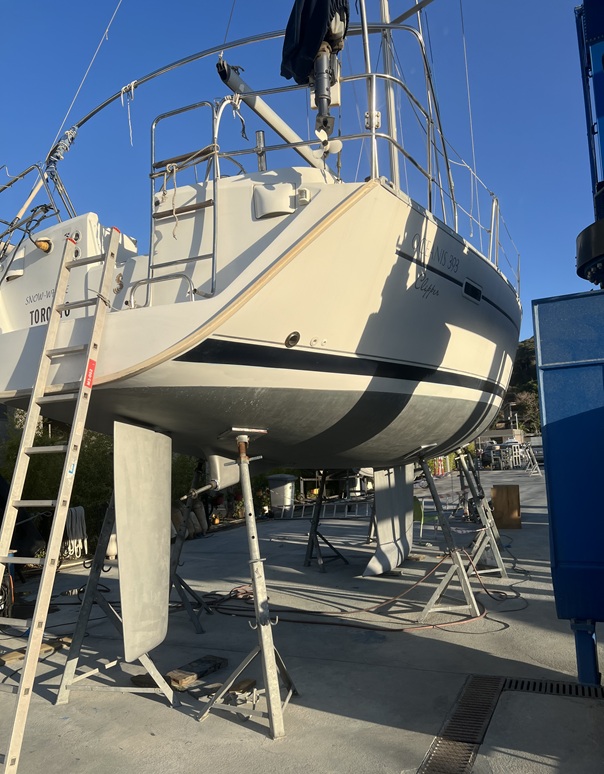
July 26, 2025: Finally, we are on the water |
|
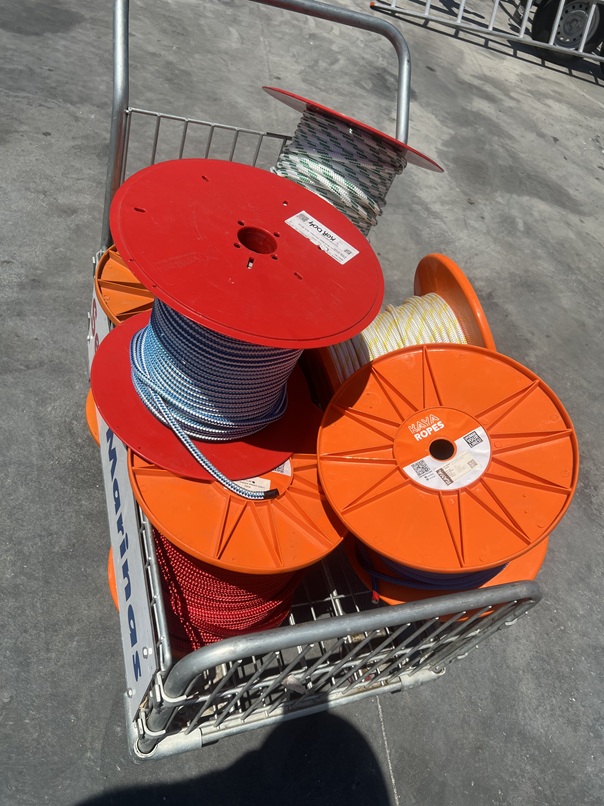
Finally, on the last days of July, we assembled everything back, tested the engine, electrical components, checked and tested all the valves, openings, completed the antifouling and got into the water. There was no apparent issue. Once we were at the dock, we had to replace all lines. Which I found later on that was not all done properly. See our next episode in Kusadasi.
|
| |
. |
|
|
Contact us
for this voyage
|
|
|
|
|
 Voyages of "SNOW
WHITE"
Voyages of "SNOW
WHITE"
